I am so excited about this project. I love to crochet but I typically make projects at the end of summer or early fall since I love making infinity scarves and hats for the winter. This project is perfect for spring and summer. You can get all these materials for a sweet deal from a company called Darby Smart. Just click here. They are an awesome diy company based in San Francisco. Check out their website for some fun diy kits that you can make your own. I love the cute boxes that the kits come in. I wanted to hug mine when it arrived, but instead I took a million photos of it sitting in my craft corner.

This is a photo heavy post because I wanted to make this tutorial beginner friendly. If you are a more advance crocheter, feel free to skip the videos. Hope you enjoy making these baskets!

Supplies list:
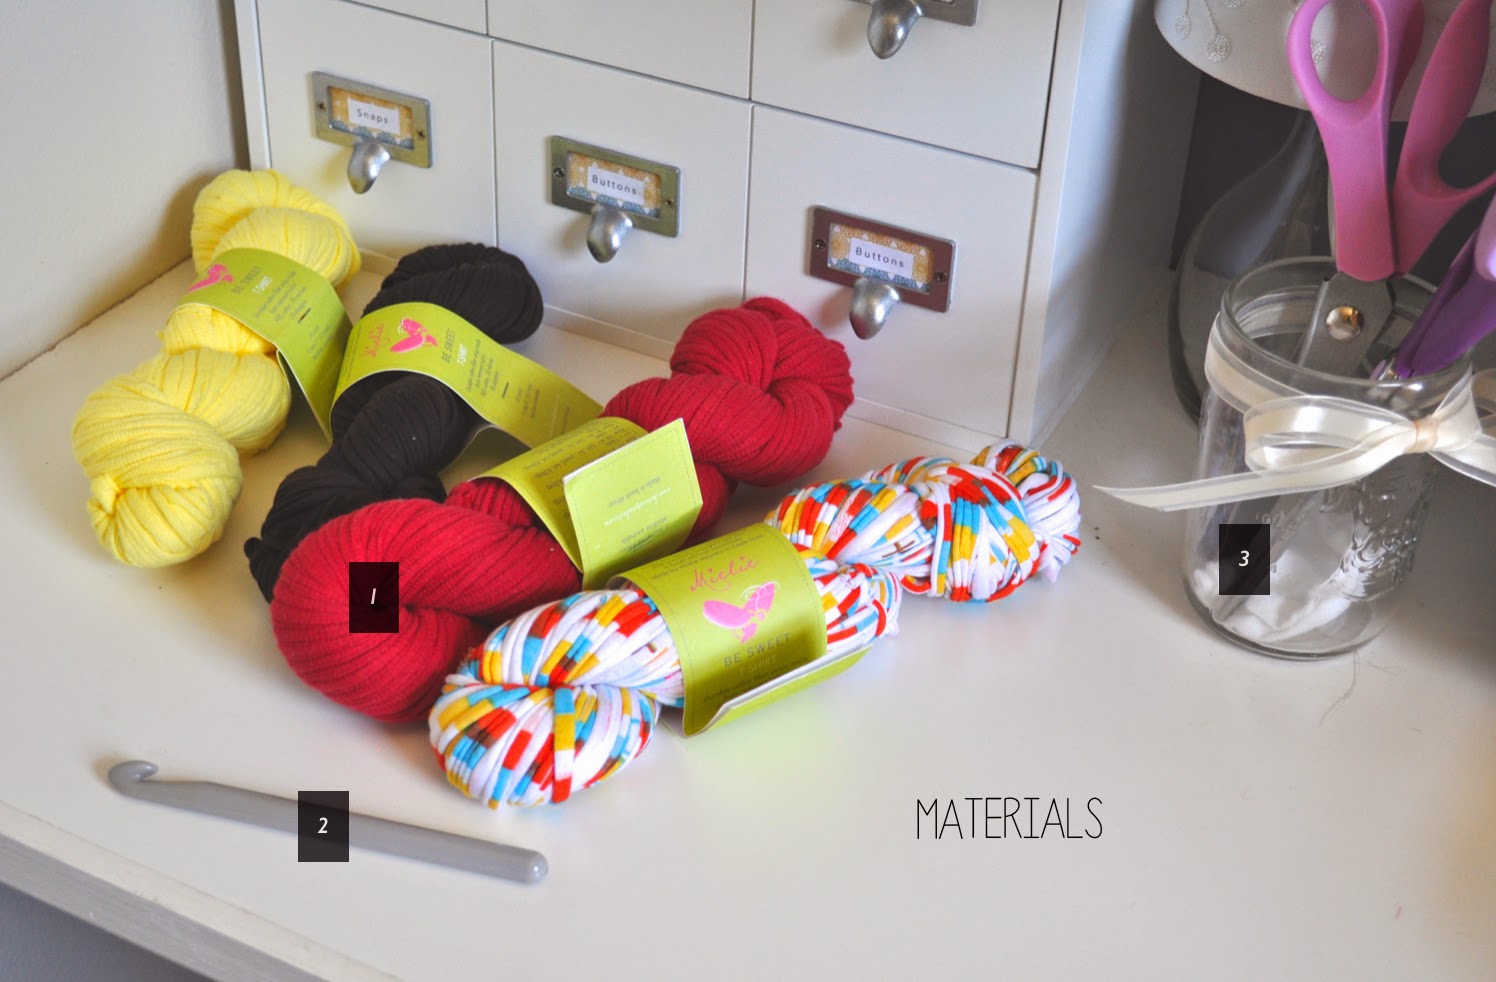
1. t-shirt yarn (you need at least 4 skeins of yarn to follow this project, 1 skein to make one basket)
2. N size crochet hook (10.0mm)
3. scissors
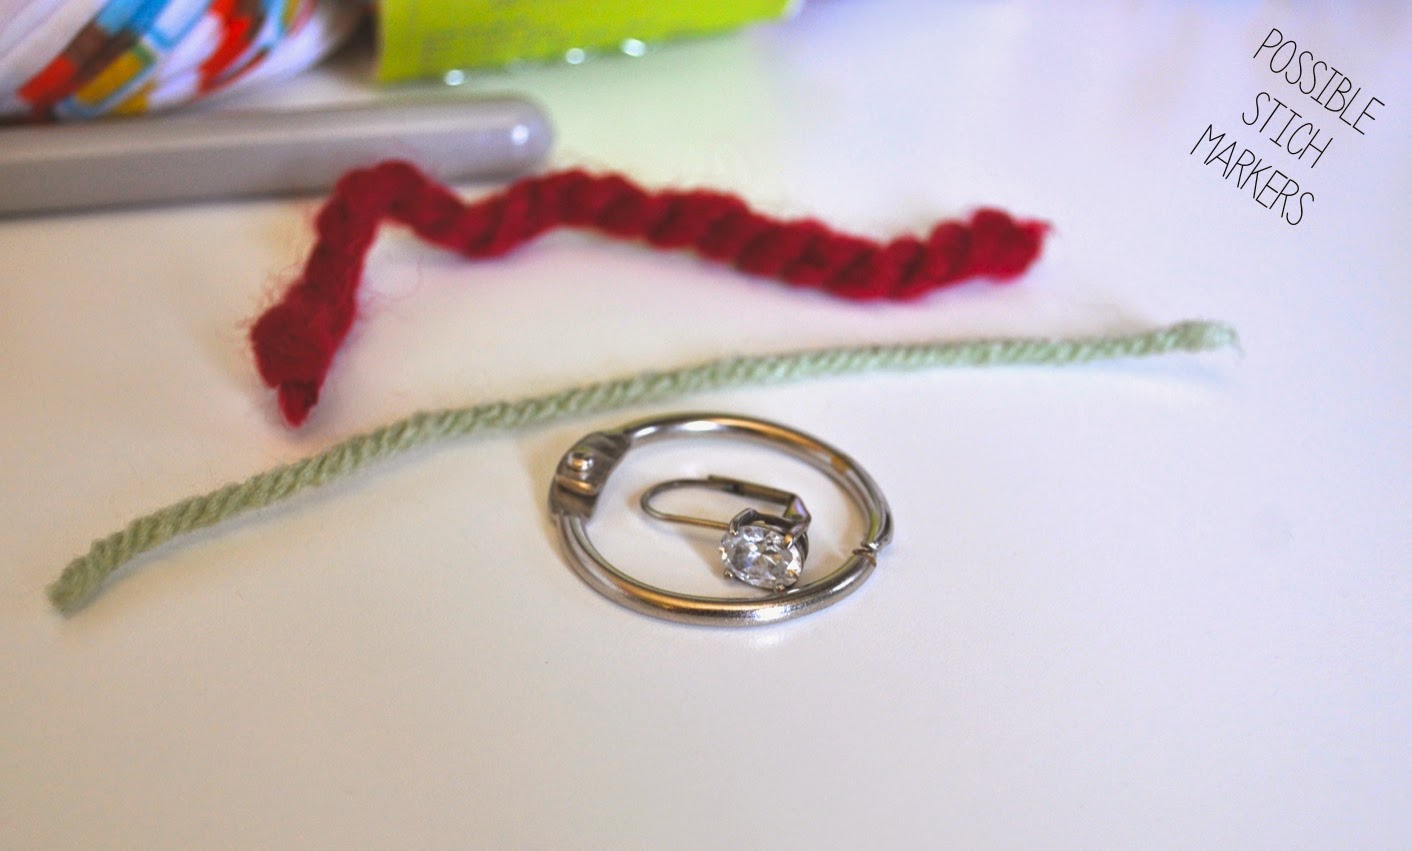
4. stitch marker (recommended and optional)
I highly recommend using a stitch marker to count your rows. I have a really hard time paying attention. You can easily locate something around your house that will suffice for this project. I used a loose leaf ring but you could also use a piece of extra yarn or even a pretty earring! Just don't lose it if it's special to you.
Step 1:
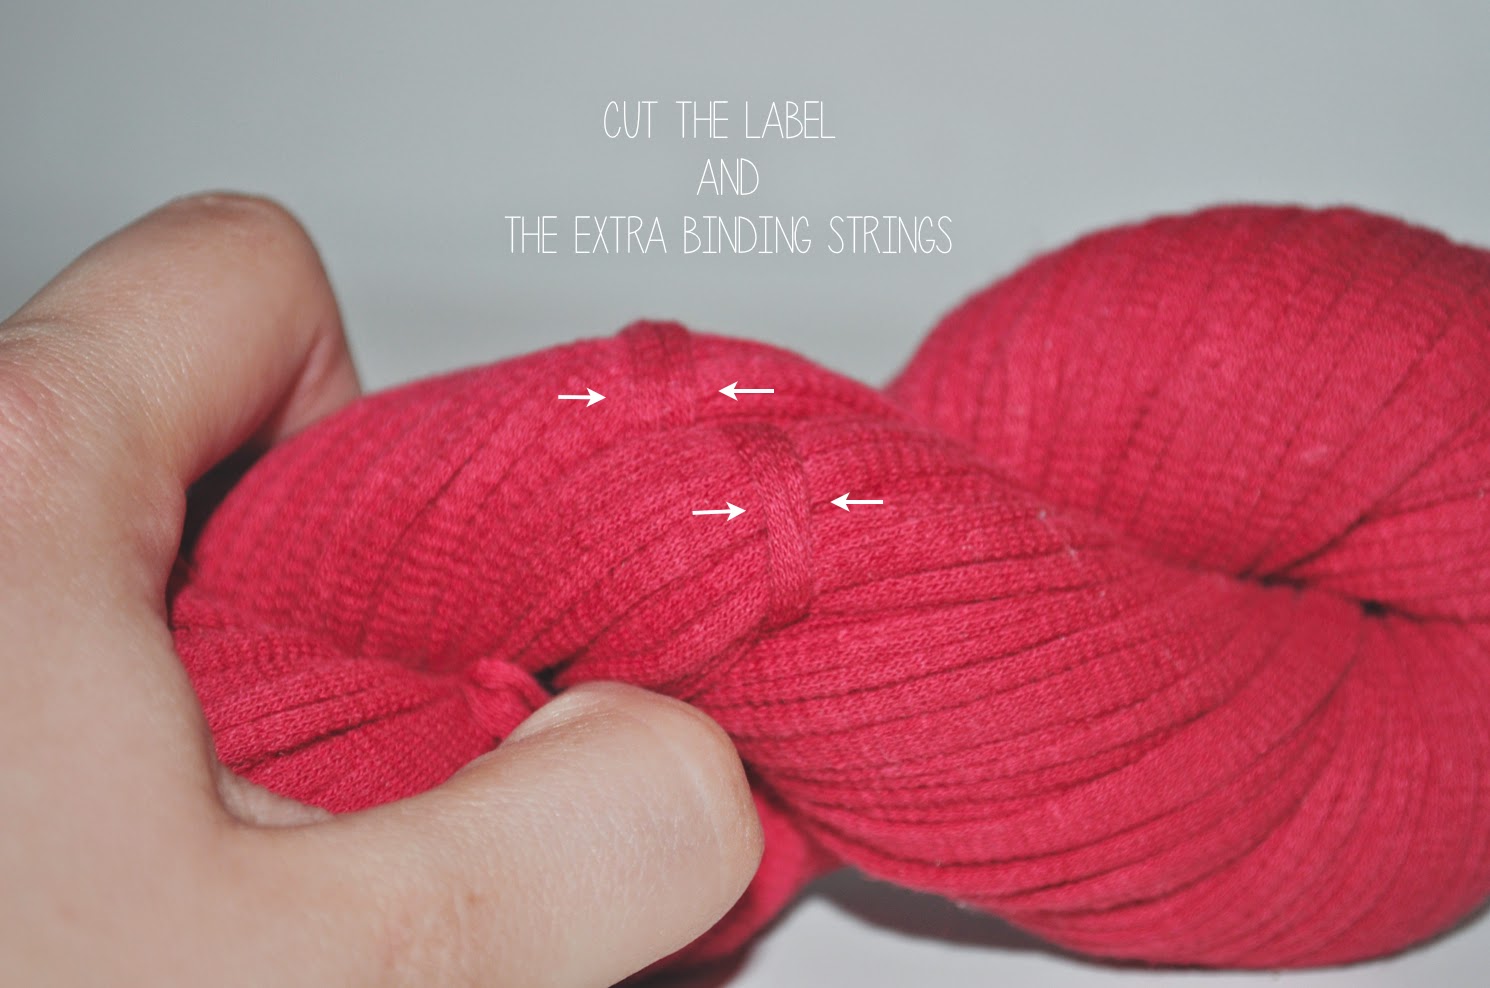
Once you've cut the strings your skein of yarn might look like this...


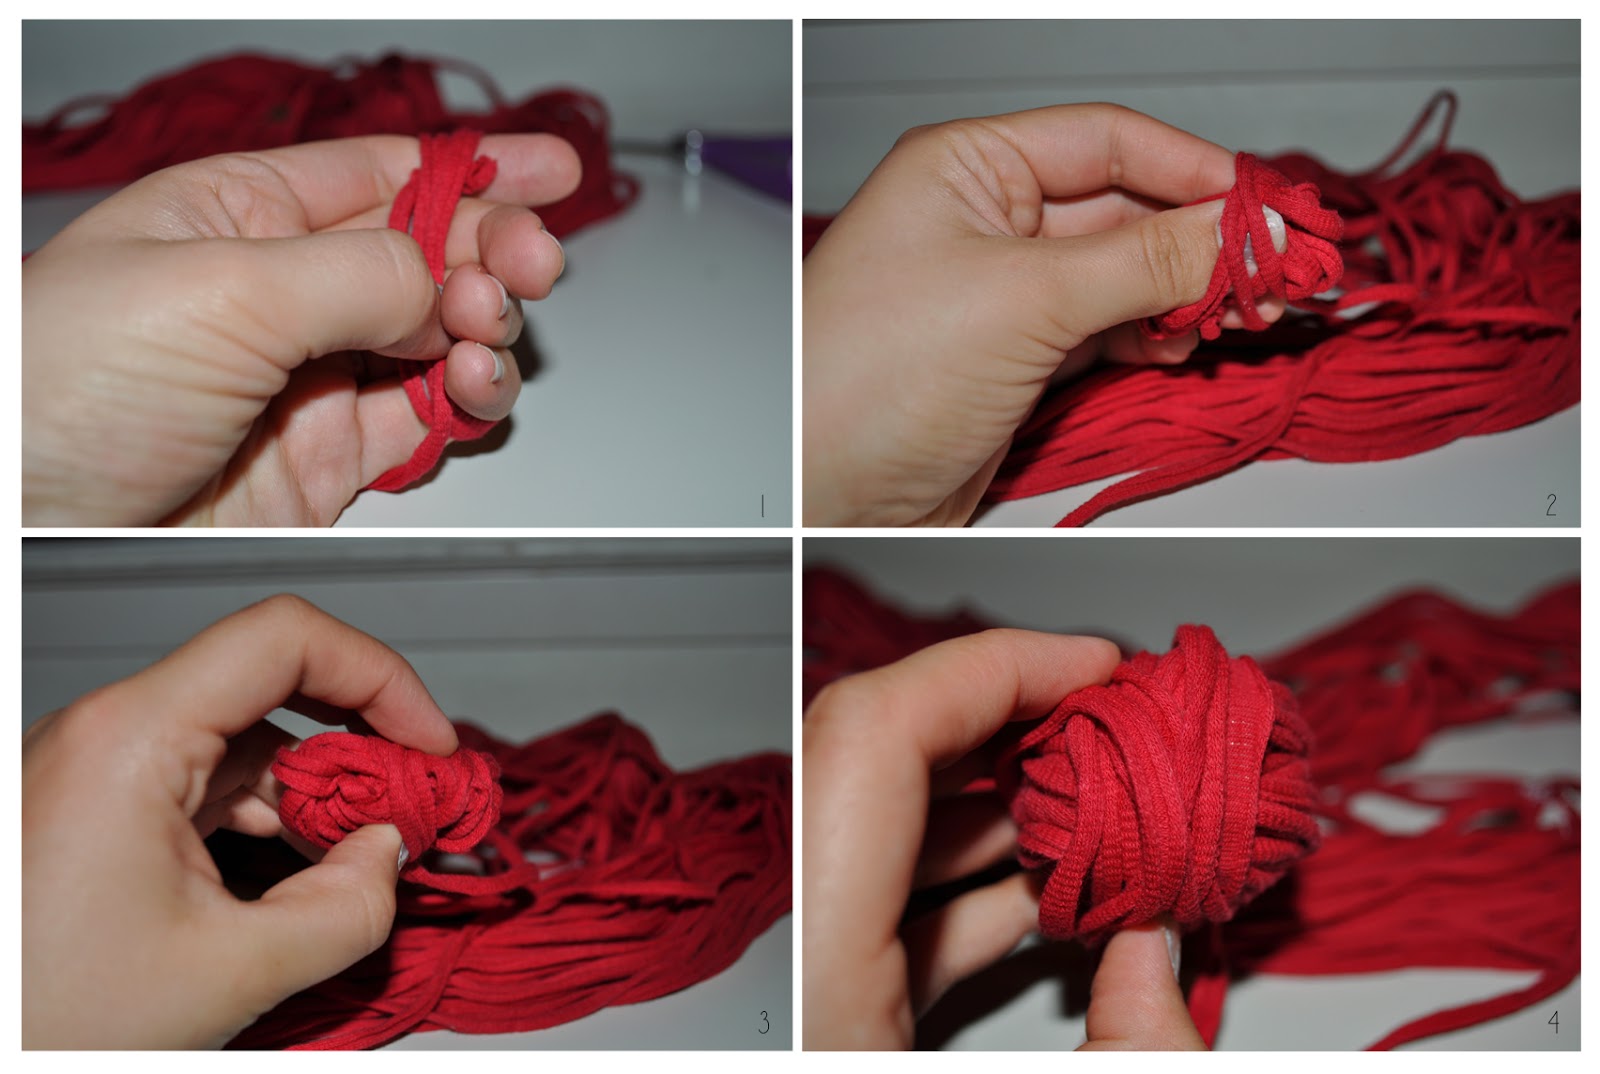
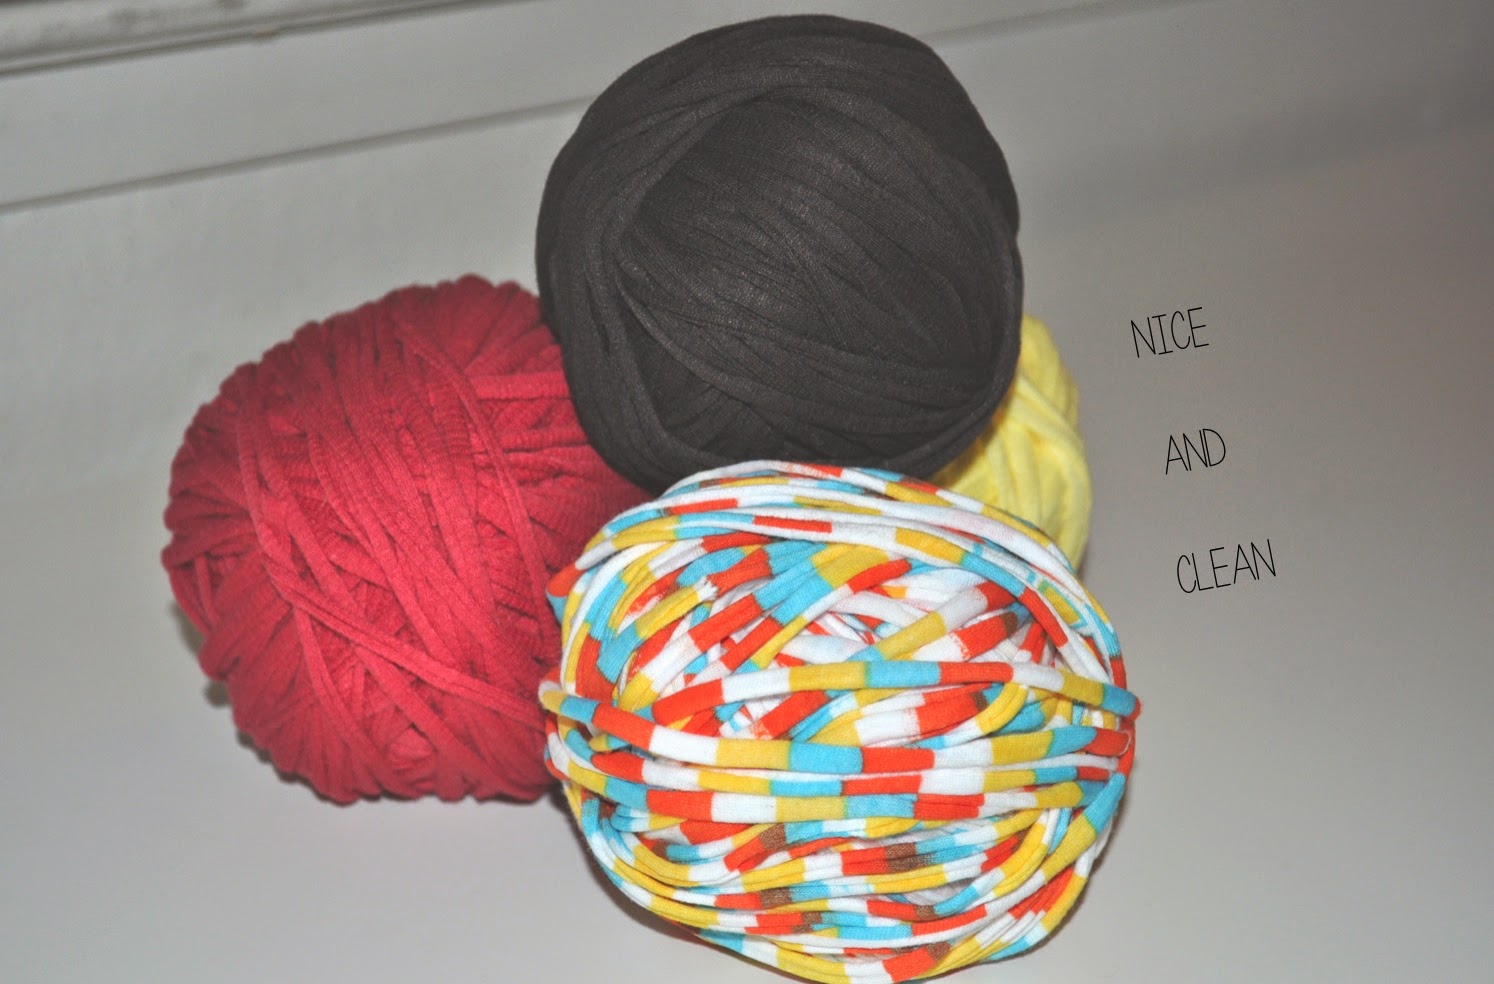
Step 2:
I wrote in my notes that this step is optional, but for me, it is necessary. I like to wind my yarn into a ball so that the yarn does not get tangled as I'm working with it. First you wrap the yarn around your fingers several times, then pinch the yarn that you wrapped with your fingers and continue to wrap yarn around, alternate the direction that you wrap the yarn so that the ball looks even all around. Keep wrapping until you have all the yarn nice and tidy.
Step 3:
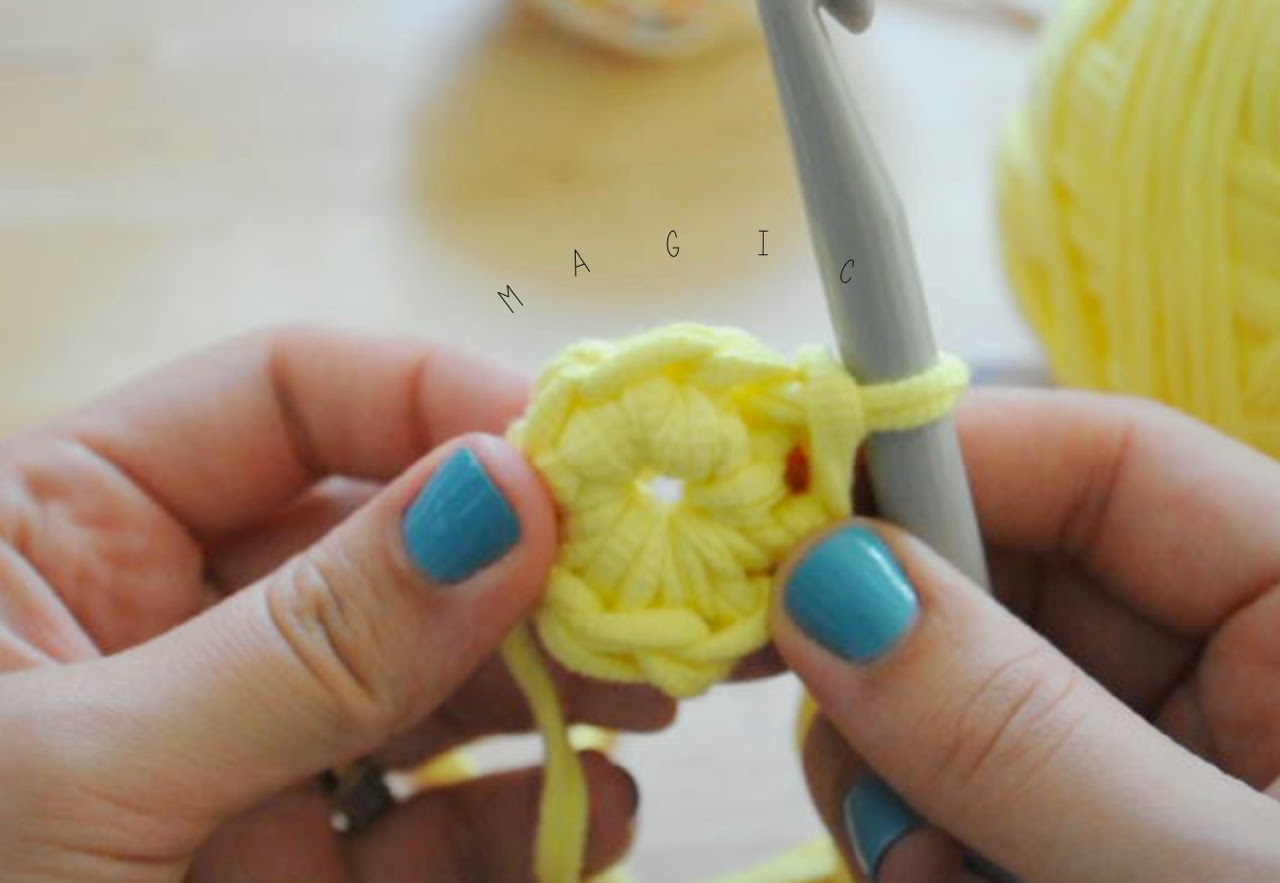
It's time to start with the magic ring! I made a video for this part of the project. If this is your first time making the magic ring it is easier to do after watching the video. This is a really handy thing to know how to do as a crocheter. It is especially important if you want to make a cute beanie or even little crochet flowers, more about those another time...
In the video below I single crochet 8 times in the ring for the large basket.
*Single crochet 4 times in the ring if you're making the small basket.
*Single crochet 6 times in the ring if you're making the medium basket, or however big you want your basket to be!
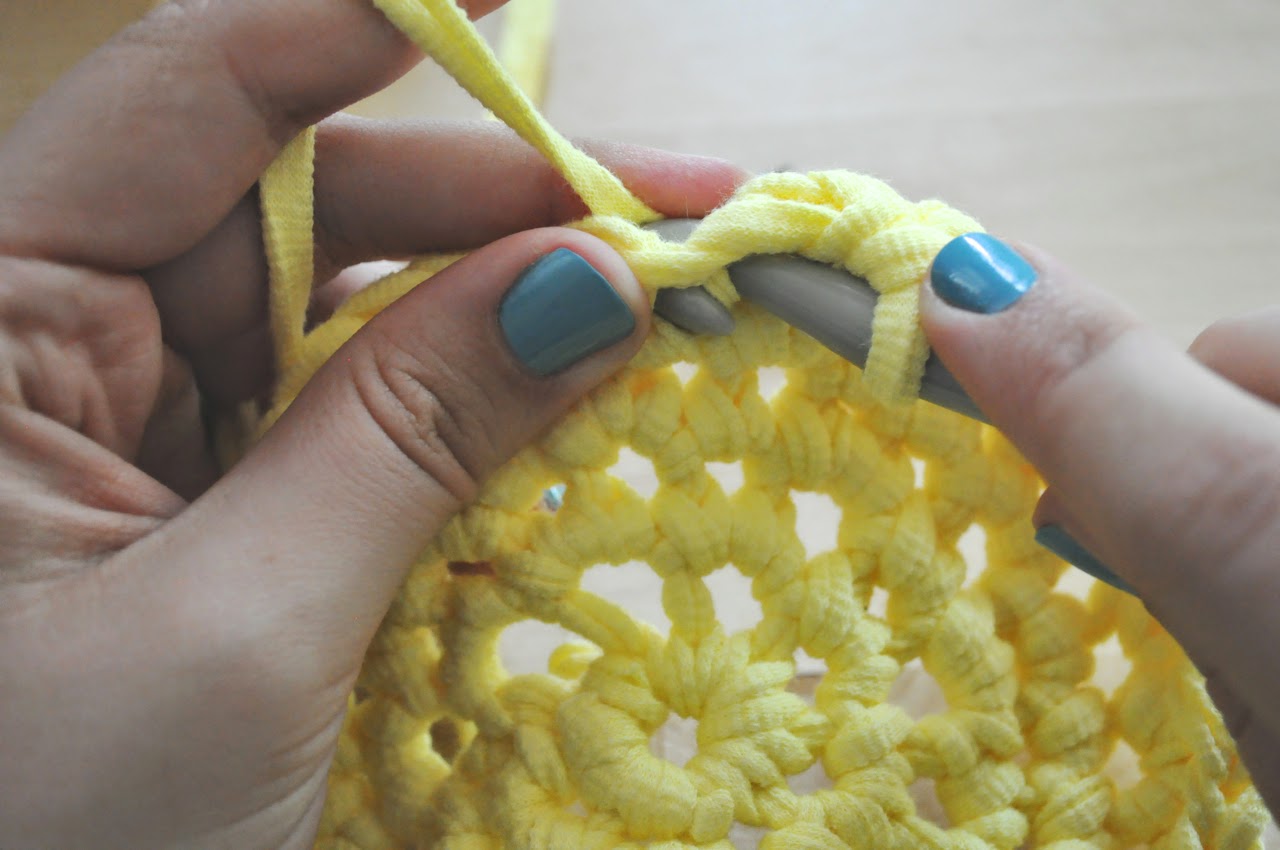
Step 4:
Time to increase!
After you make the magic ring, chain 1.

Then single crochet two times in every stitch around. This is the one motion you will really need to know how to do for the entire project.
Here's my pattern for the different bases of the baskets:
*small basket: 4 in the ring and increased the base 4 rounds,
1st round:8 2nd round:12 3rd round: 16 4th round: 20
*medium basket: 6 in the ring and increased the base 5 rounds,
1st round:12 2nd round: 18 3rd round: 24 4th round: 30 5th round: 36
*large basket (pictured): 8 in the ring and increased the base 5 rounds,
1st round:16 2nd round: 24 3rd round: 32 4th round:40 5th round: 48
A note about increasing. Do you see the pattern? The first number of stitches is doubled in the first round and then you add the beginning number of stitches to the doubled number. So, I started with 4, increased by that number, and then just added the beginning number of stitches so 8 + 4 =12! And I don't even like math all that much.
Here's how we get to those numbers. After making your magic ring, chain one, and then single crochet in each stitch twice all the way around the circle, slip stitch into the first stitch to join and then chain one to move you up to round two.
Increasing round two: *single crochet in the first stitch and then single crochet in the next stitch twice* repeat from * until you come back around to the first stitch. You should have increased the number of initial stitches, (if you started with 4, you doubled that in the first round (8), and now have 12 after round 2) Slip stitch and chain 1.
Increasing round three: *single crochet in the first and second stitches and then single crochet twice in the the third stitch * repeat from * until you come back around to the first stitch, slip stitch to the first stitch and chain 1. (Are you noticing the increase pattern?) You will now have 16 if you started with 4.
Increasing round four and beyond: *single crochet in the first, second, and third stitches, and then single crochet twice in the 4th stitch * repeat from * until you come back around to the first stitch, slip stitch and chain 1. Whatever round you are on that's the stitch you will be doing two single crochet stitches in. So if it's round 5, do two single crochets in stitch 5. Keep going until you love the base size of your basket, or if you would like to make nesting baskets like mine, then follow the pattern above.
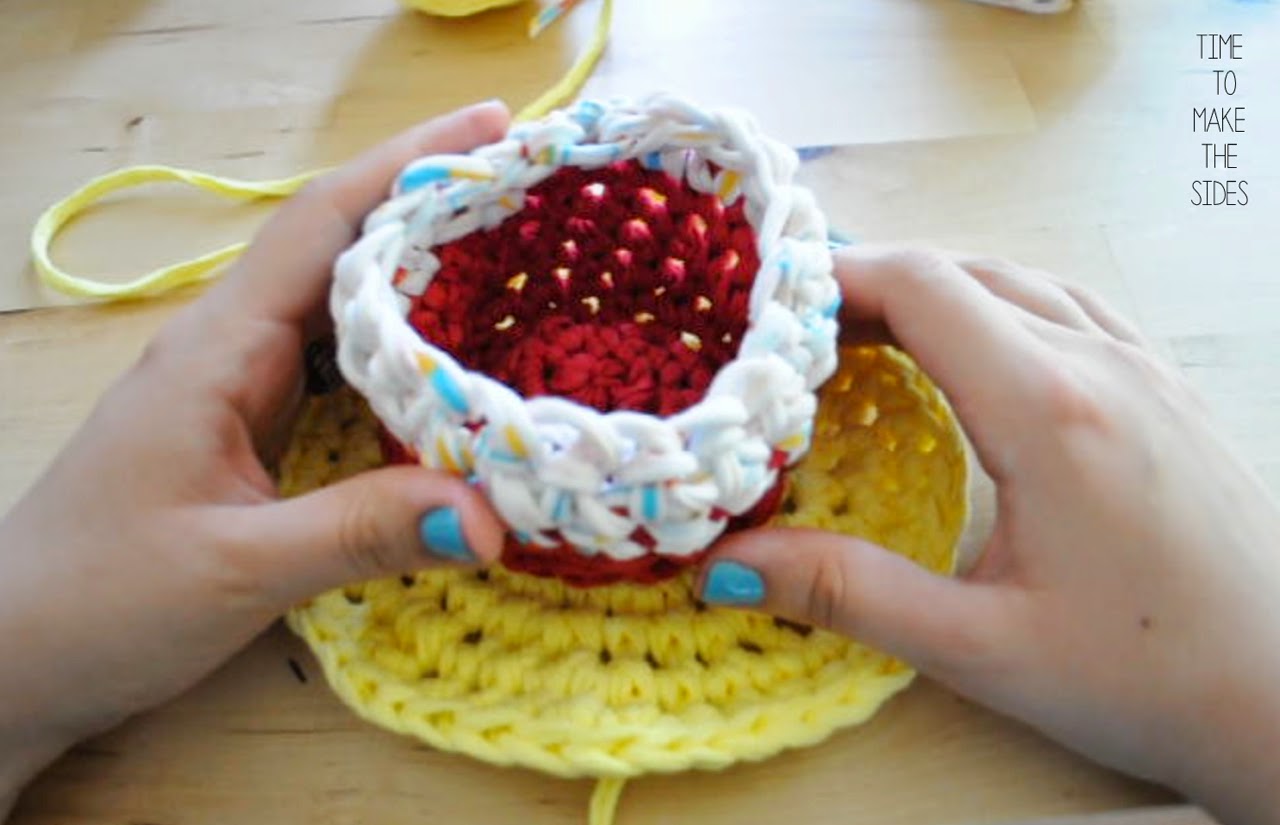
Step 5:
You have made your lovely base, and now it's time to start to create the sides of your basket. After chaining one at the end of your last increase round, simply single crochet all the way around and continue in this spiral motion until you like the height of your basket. *Mark your first chain 1 by inserting the stitch marker. Then you can count how many rows you did after your increase. *
* small basket sides: 3 rounds of red and 3 multi-color
*medium basket sides: 5 rounds of brown and 3 multi-color
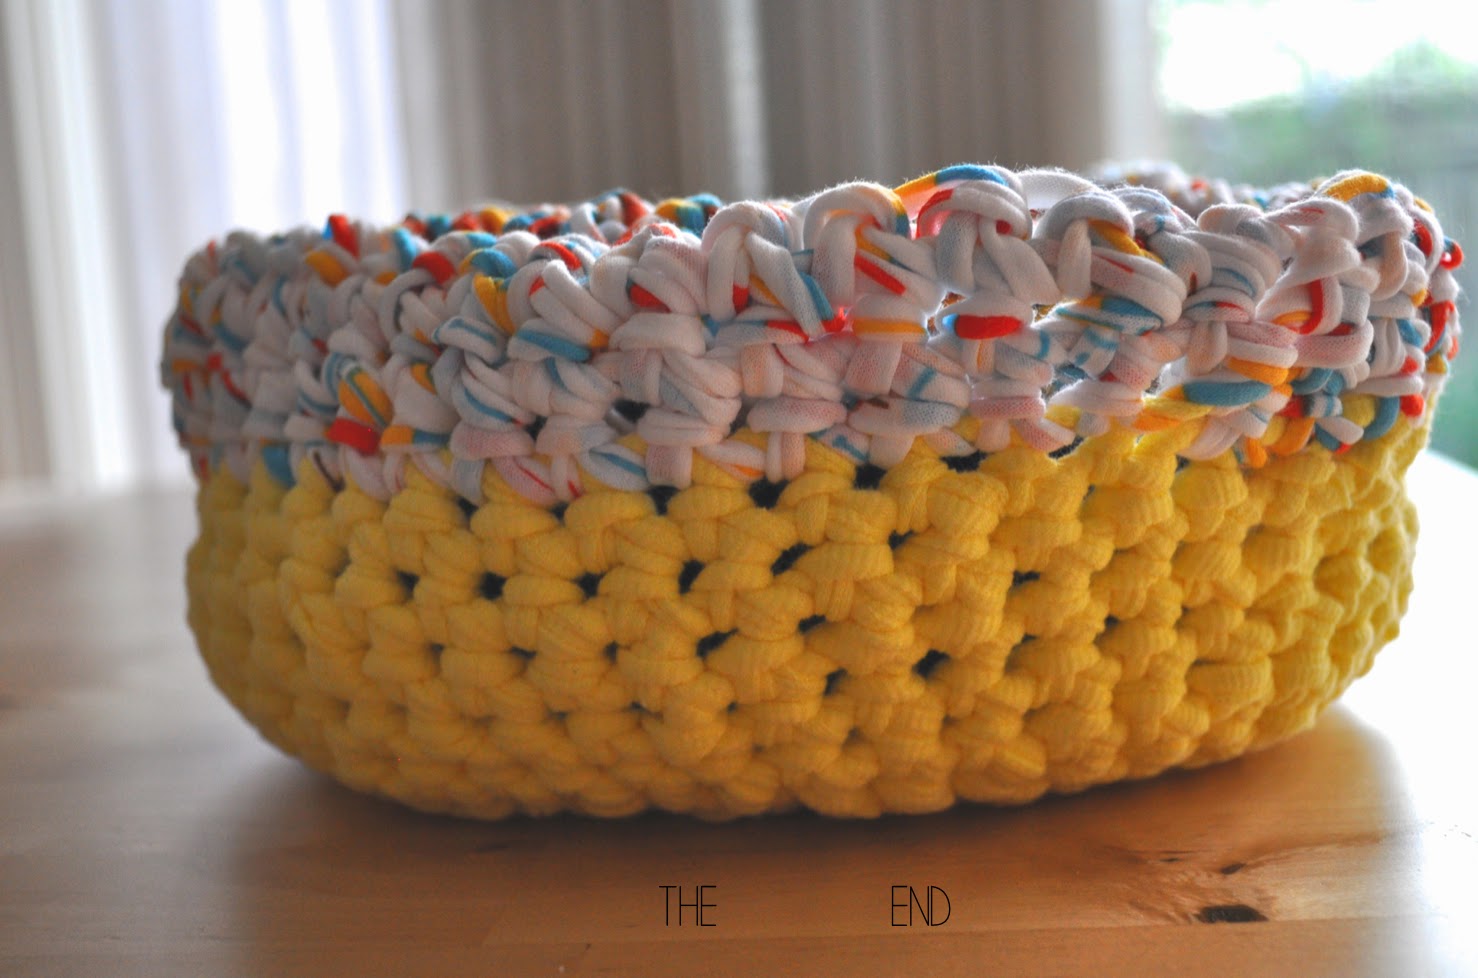
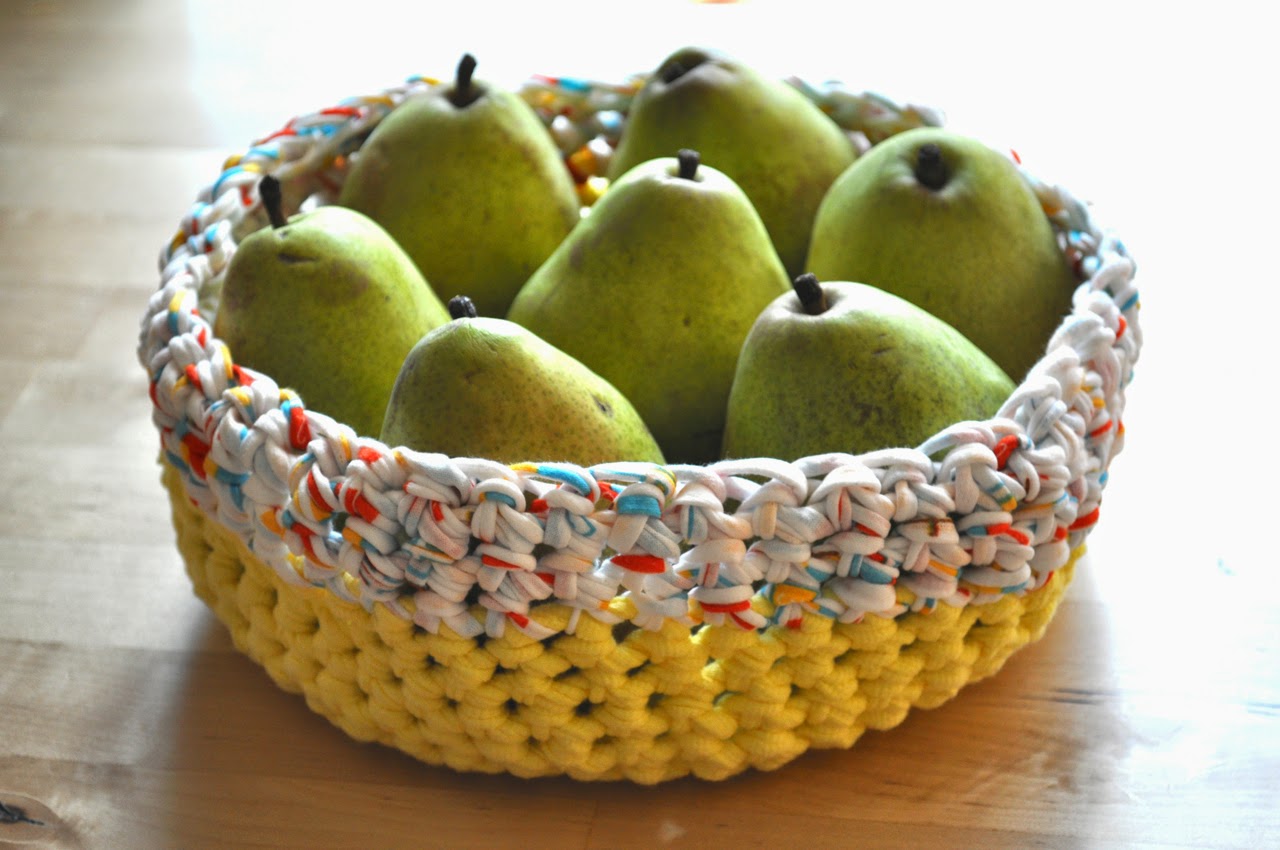
*large basket sides: 6 rounds of yellow and 4 multi-color
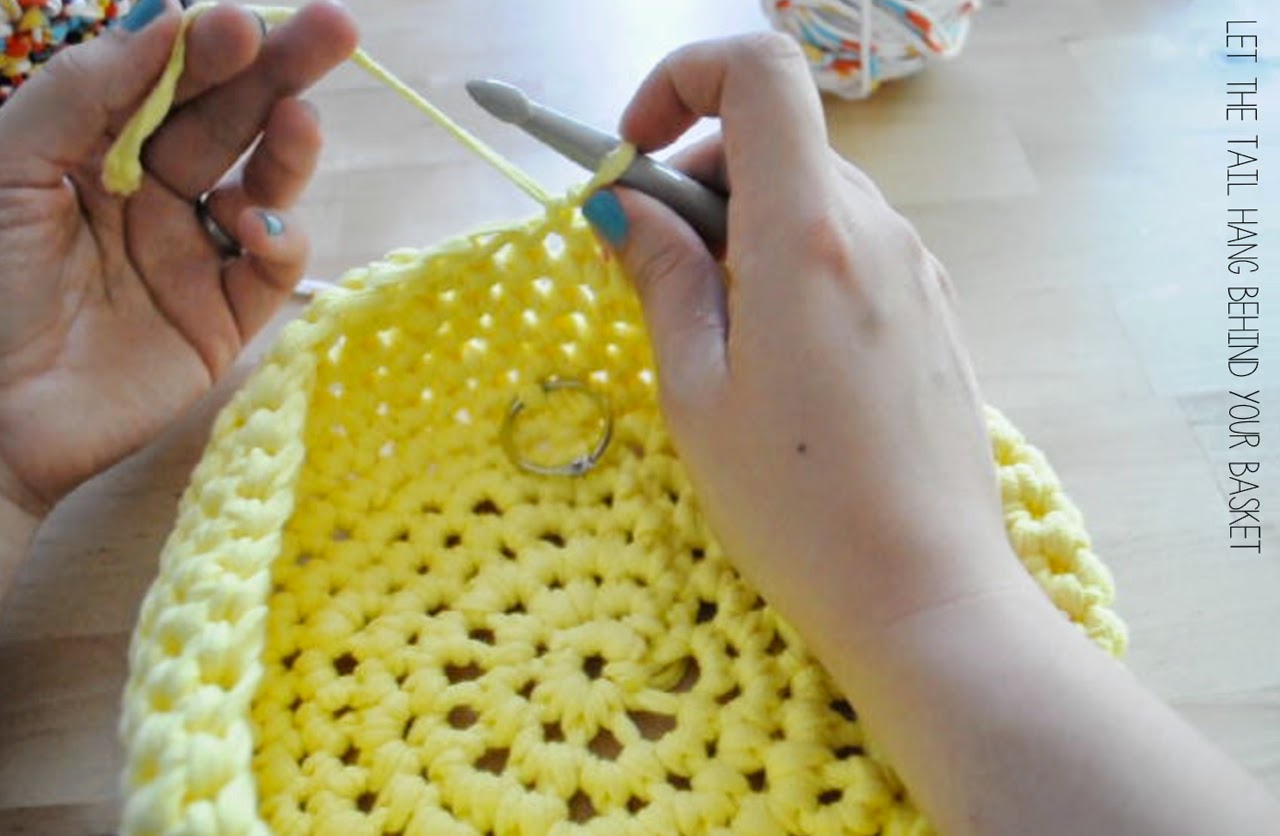
Step 6:
*This step is optional if you want to add a splash of color to your basket or if you want to make a bigger basket.*
This is how you attach another skein of yarn to your basket. First you cut your working yarn, leaving room to weave in later, and let the tail hang behind your basket.
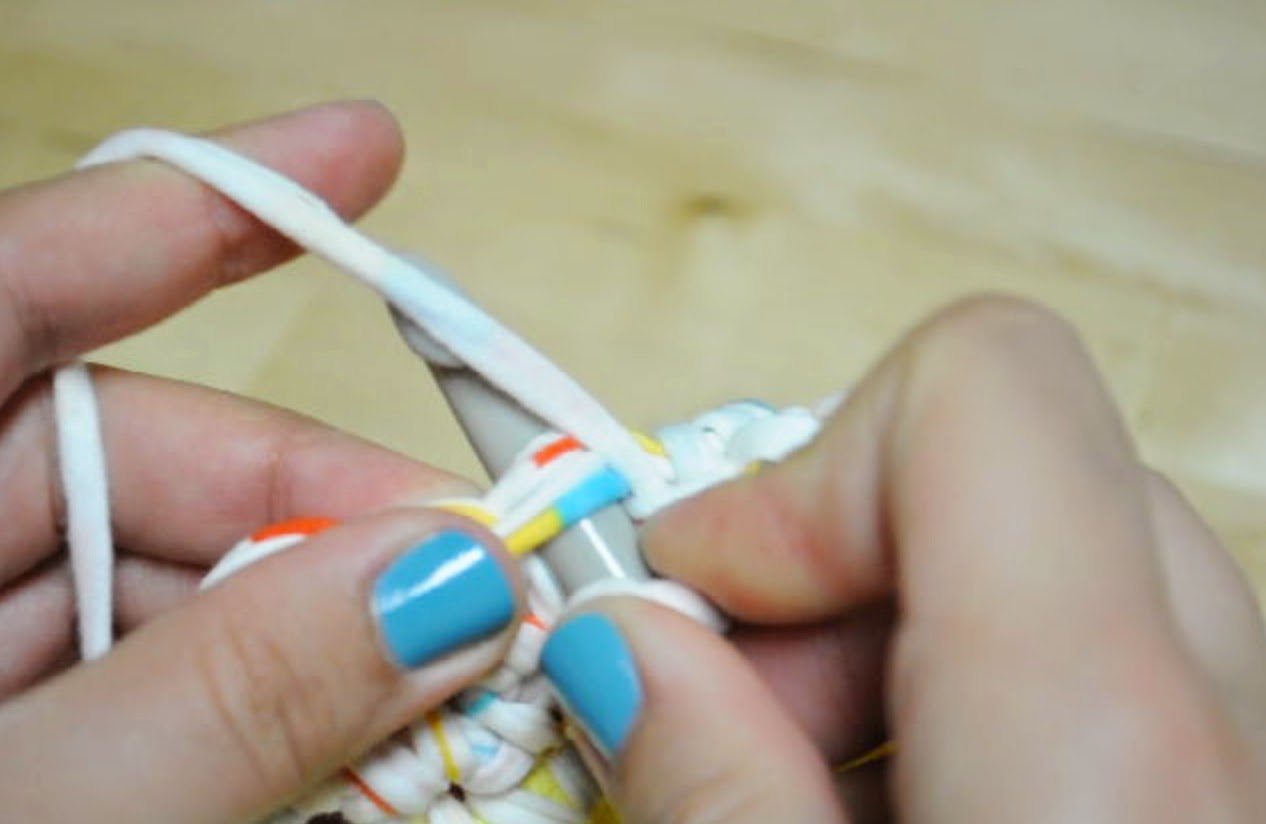
With the new yarn held loosely in your left hand and the tail of your first yarn left loosely behind your stitch, insert your crochet hook into the next stitch and yarn over with the new yarn and pull back through the loop.

Yarn over with the new yarn and pull through both loops creating a single crochet with the new yarn. Both strings will feel a little loose loose since they aren't tied to anything yet. Tighten a little and leave both strings hanging. You will weave those in at the end. Keep going around until your basket is the desired height. Repeat this step if you want to do more colors!
Step 7:
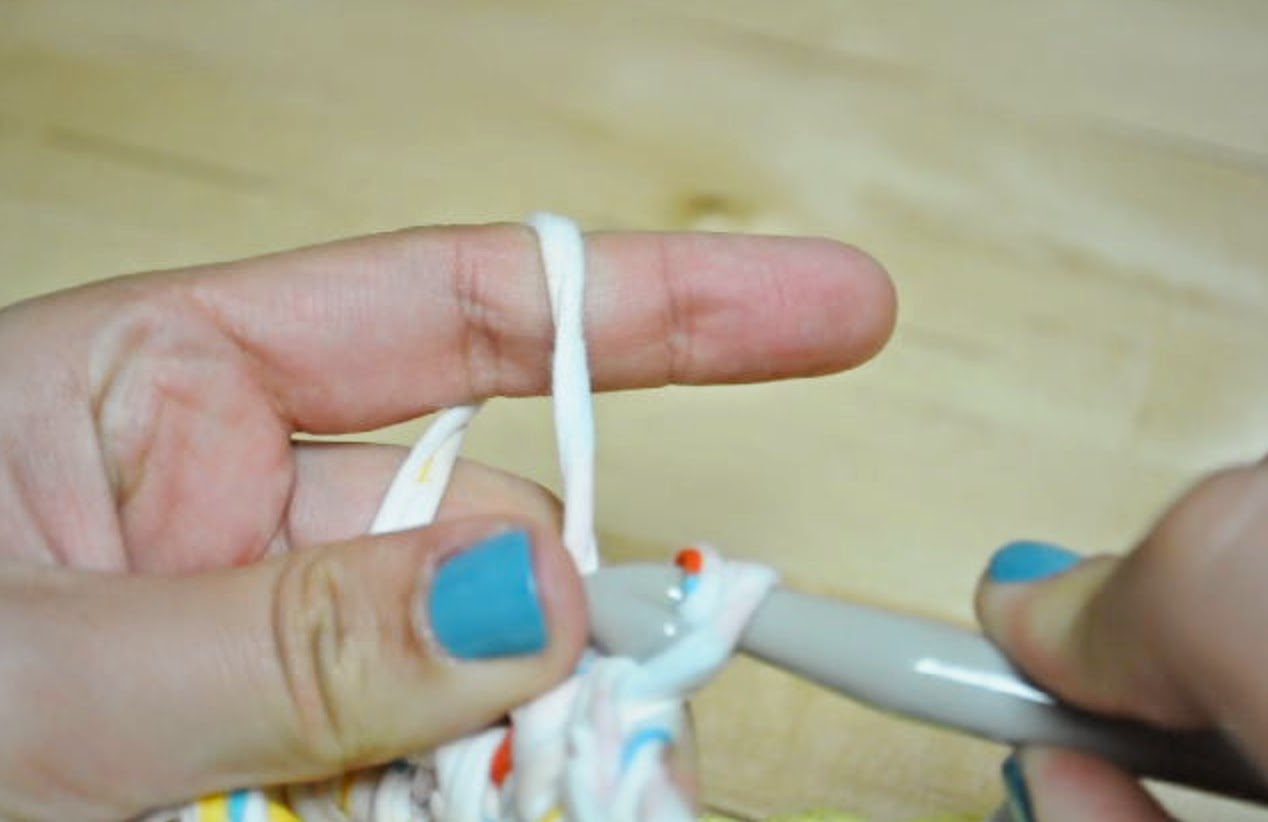
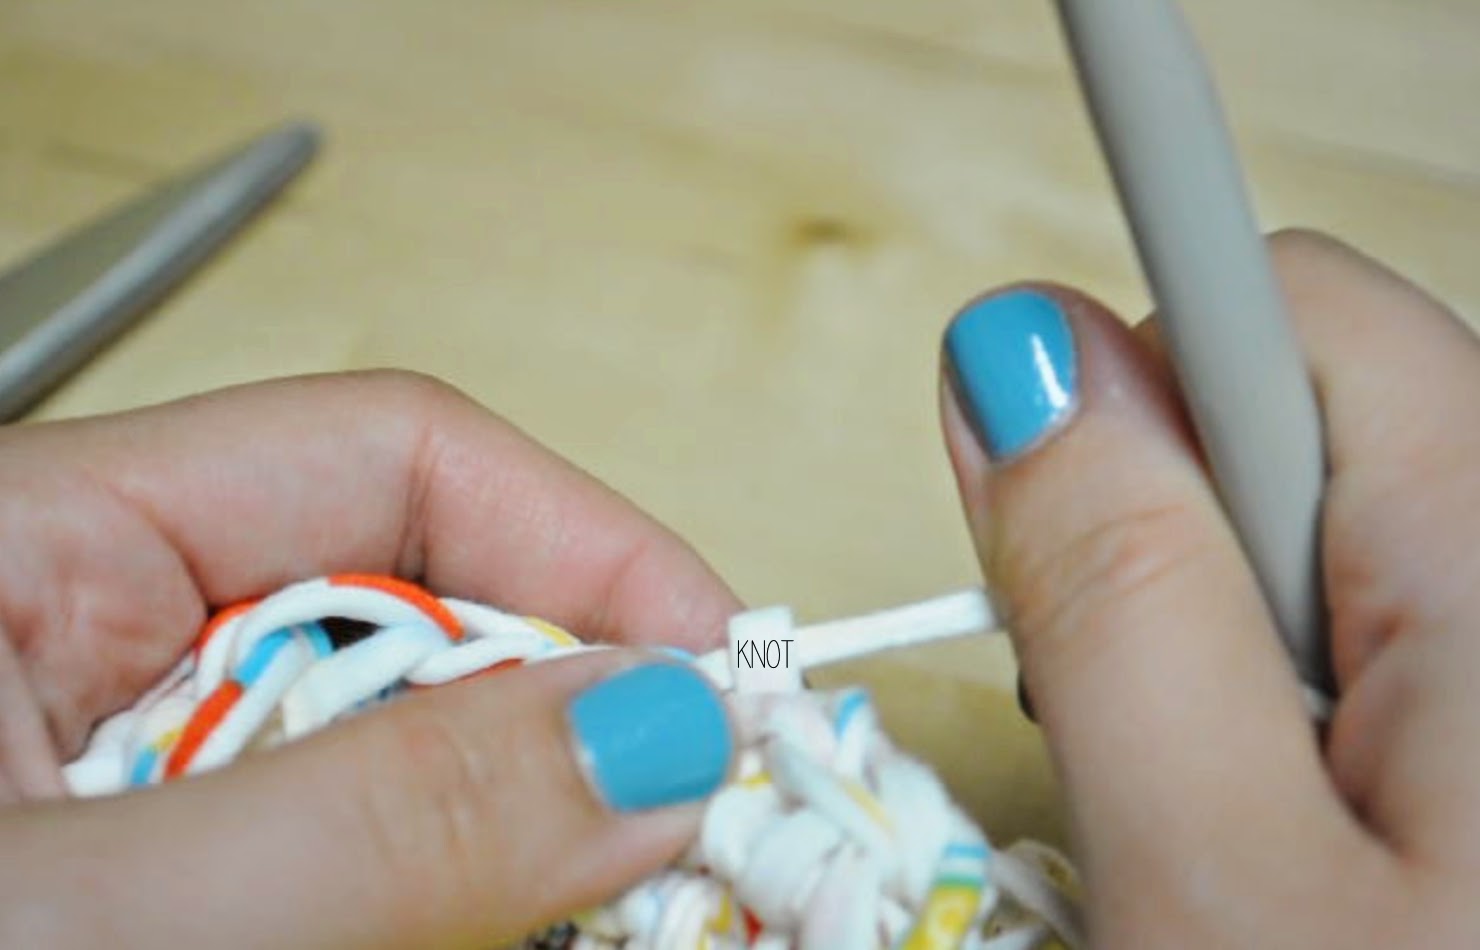
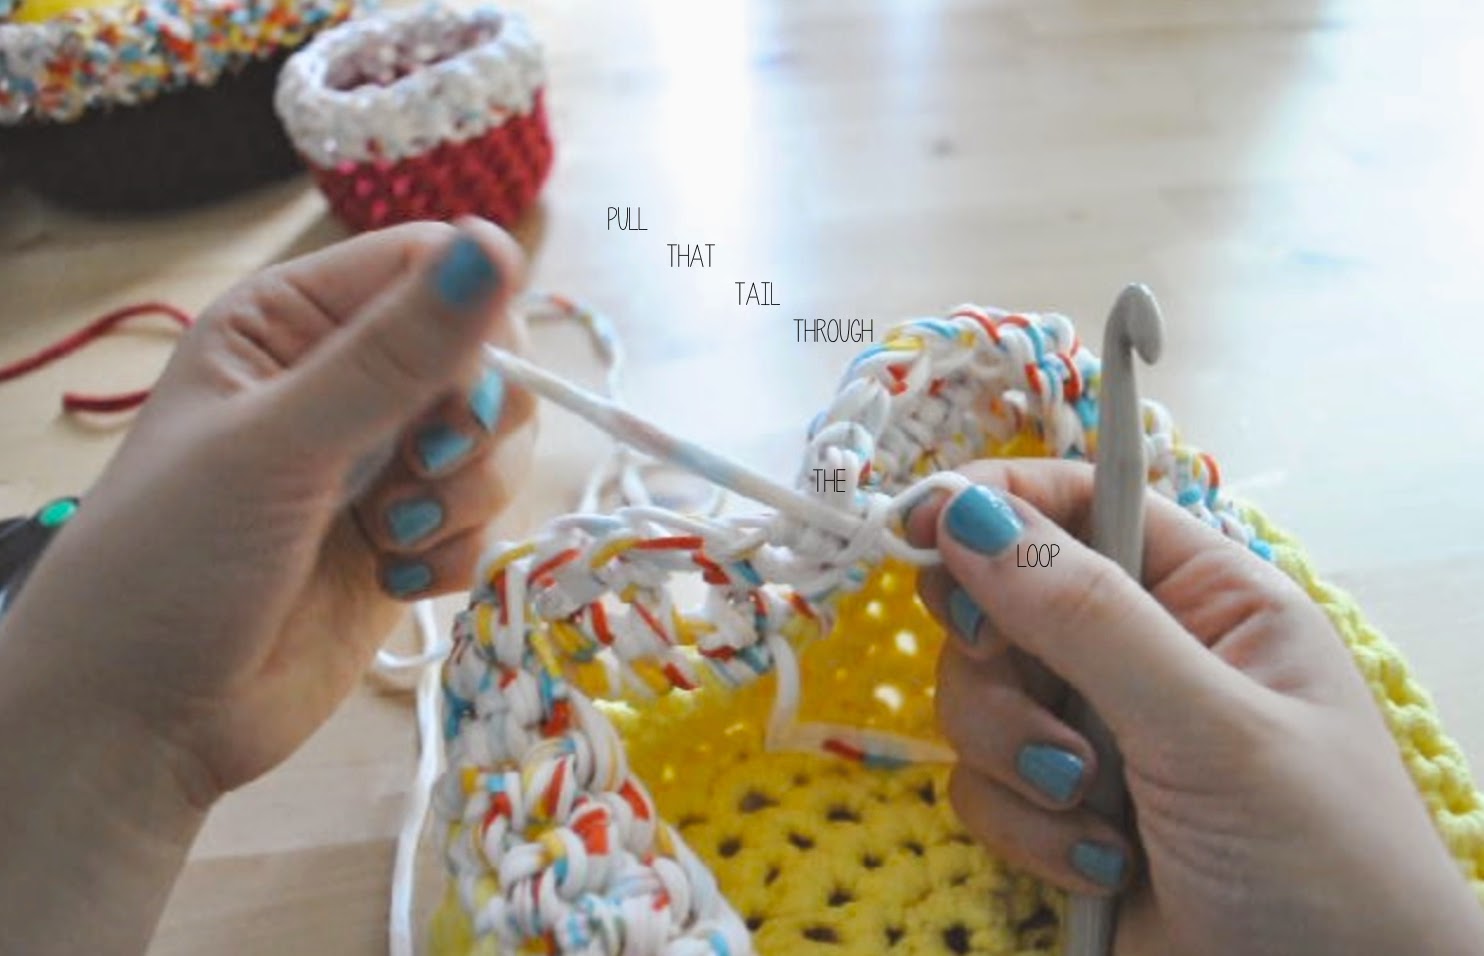
Now that you've crocheted your basket to the desired height it is time to tie a knot and weave in the ends. You are going to slip stitch to the next stitch. When you come to the place where you want to end, insert your hook, yarn over, and pull the yarn through the loop that remains on your hook.
Cut the string and pull it tight.

Step 8:
You're almost done! Just weave those ends in to make your basket look pretty, then cut the excess yarn.
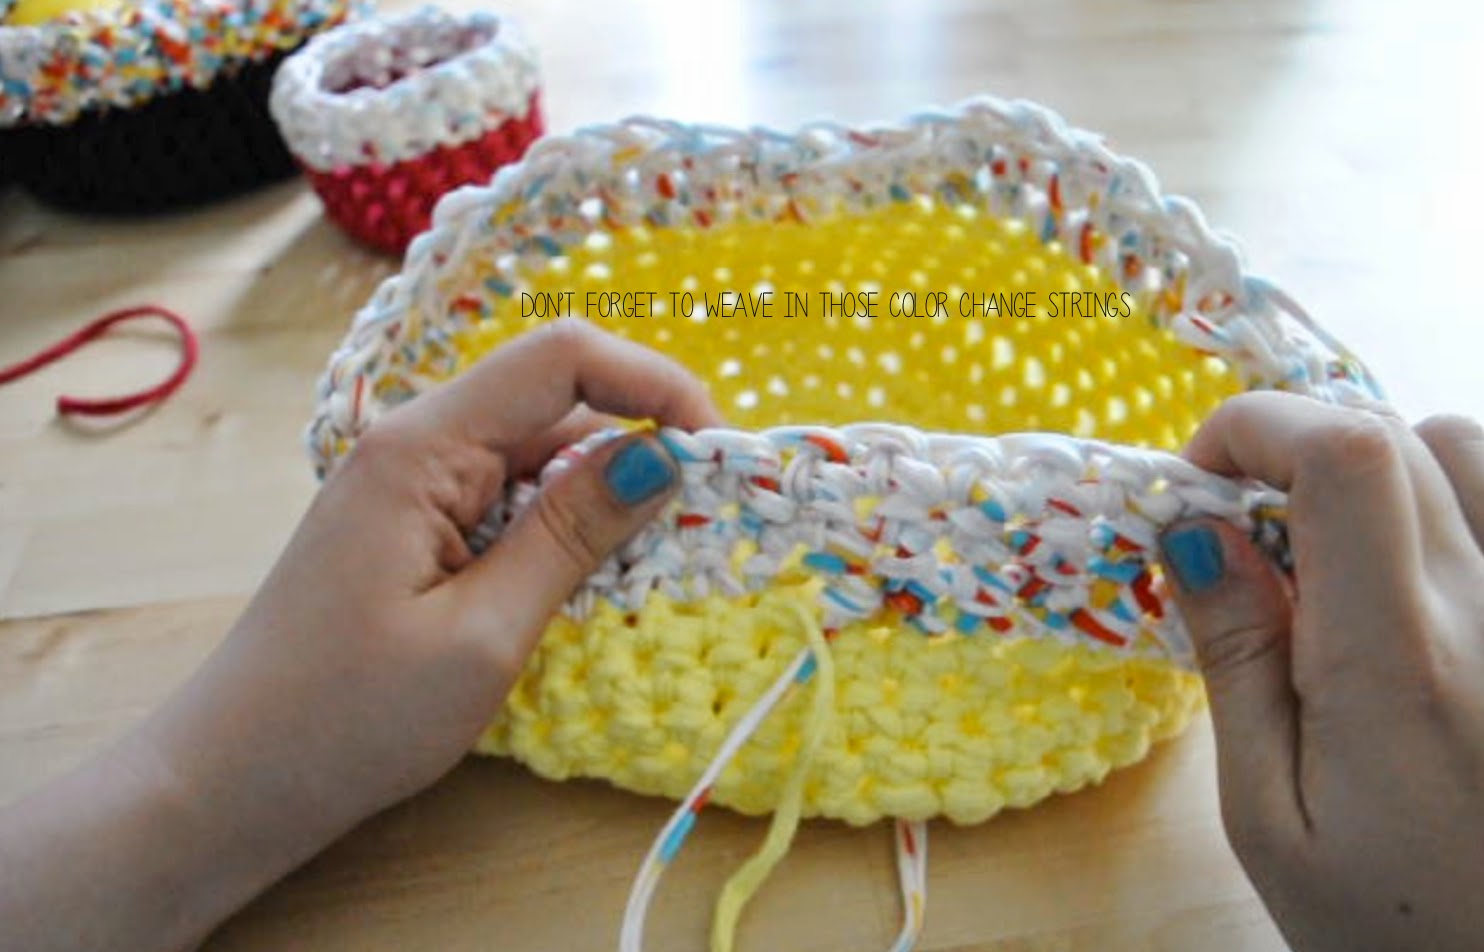
I like to weave my ends on the inside of my project. Using your crochet hook, pull the tails through different loops and tie a simple slip knot, I do the last part twice to make it extra secure.
Trim the excess yarn and enjoy!